

Dental implant maintenance determines whether your implants last a decade or a lifetime. Implants can achieve survival rates as high as 95% when patients follow structured daily care and professional monitoring protocols consistently. This guide covers the exact tools, techniques, and professional visits you need to protect your investment for decades. The most common reason implants fail is not placement error; it is preventable bacterial disease that goes unmanaged.
Key Takeaways
- Peri-implantitis causes progressive bone loss around titanium posts, with poor oral hygiene, tobacco use, and biomechanical overload as primary risk factors.
- Water flossers, interdental brushes, and implant-specific floss remove biofilm from areas regular toothbrushes cannot reach.
- Six-month professional visits must include peri-implant probing, digital imaging, and ultrasonic tools with polymer tips.
- Following structured maintenance protocols protects your oral health investment through systematic daily care and professional monitoring.
- Specific cleaning techniques, warning signs, and maintenance expectations address common patient concerns about implant longevity.
Understanding Peri-Implant Disease and Risk Factors
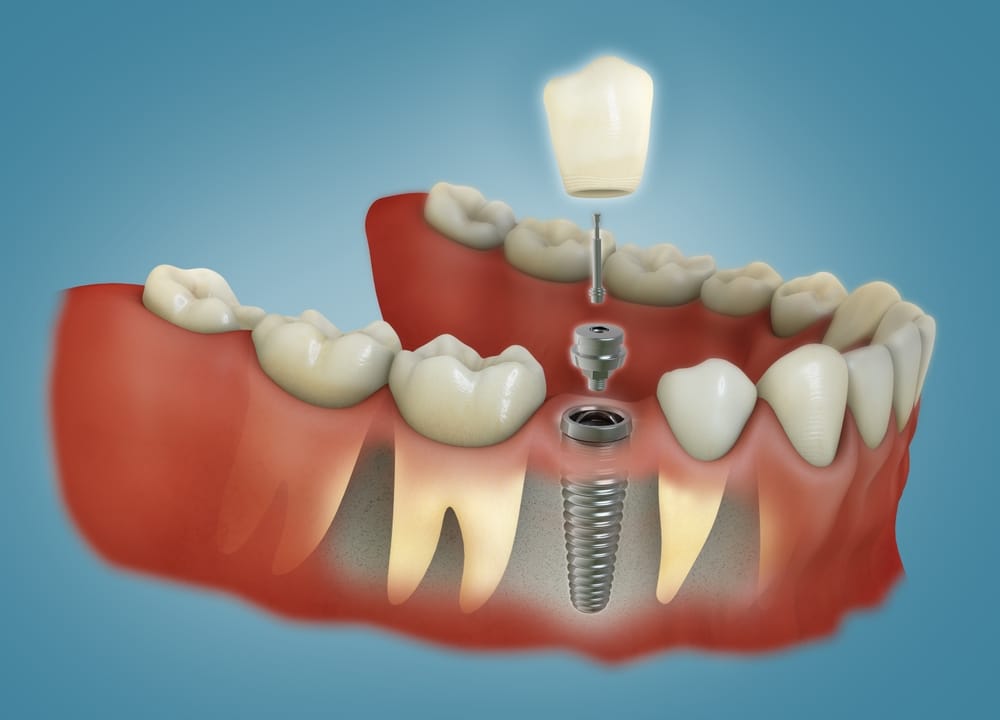
Peri-implant disease is the primary threat to long-term implant stability. It begins as soft tissue inflammation. Without treatment, it progresses to peri-implantitis, a bacterial infection that destroys the bone holding your titanium post in place.
Risk Factors That Make Your Implants Vulnerable
Structured professional care every six months keeps early-stage inflammation from reaching the bone. A review published in the European Journal of Dentistry identifies the leading risk factors as plaque, smoking, history of periodontitis, along with bruxism and diabetes.
The main risk factors include:
- Poor oral hygiene, which allows harmful biofilm to build up around the implant site
- A history of gum disease, since the same bacteria can colonize implant surfaces
- Tobacco use, which reduces blood flow and slows tissue healing
- Bruxism, which creates excessive pressure that can crack bone or loosen the implant crown
- Diabetes, which impairs healing and feeds harmful bacteria through elevated blood sugar
Smokers carry more than double the implant failure risk compared to non-smokers, according to a meta-analysis of over 150,000 implants published in Medicina. They also show measurably greater bone loss around the implant site over time.
How Biofilm Behaves Differently on Titanium
The biofilm that forms on titanium surfaces differs from plaque on natural teeth. It adheres more strongly to the implant surface and resists removal with standard cleaning methods. This is why specialized tools and consistent regular professional care are not optional for implant patients.
The Three Stages of Peri-Implantitis
Peri-implantitis progresses through three stages:
- Bacteria accumulate around the implant crown, causing redness and swelling in nearby tissue.
- Inflammation spreads deeper, creating pockets where more bacteria can hide.
- Bacterial toxins begin destroying the supporting bone, threatening the implant’s stability.
Early detection stops this process before serious damage occurs. Bleeding during gentle cleaning signals the start of inflammation, and prompt attention at that stage prevents bone loss.
Essential Daily Oral Hygiene for Implant Care
Implants need specialized tools, not just a regular toothbrush. The unique shape of implant crowns creates spaces where bacteria collect. Only targeted tools can remove that biofilm before it causes inflammation.
A systematic review featured in PubMed Central confirms that individualized, evidence-based home care protocols are critical for reducing peri-implant disease and preserving long-term implant health.
How to Use a Water Flosser Around Implants
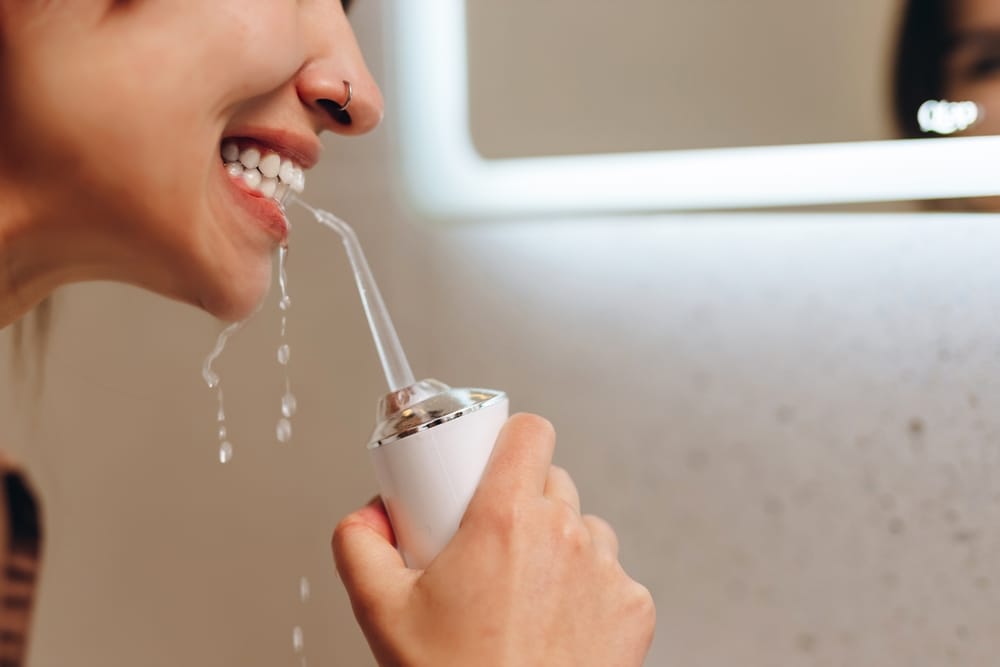
Water flossers are the most effective tool for flushing bacteria from below the gum line around implant sites. Follow this technique for best results:
- Set pressure to medium and aim the tip at a 90-degree angle to your gum tissue.
- Start at the back of your mouth and work forward.
- Spend 10-15 seconds per implant site, focusing on where the crown meets the gum.
- Start with low pressure and increase gradually as your tissues adapt.
Interdental Brushes and Implant-Specific Floss
Interdental brushes reach the curved surfaces between your implant and neighboring teeth. Choose a size that fits snugly without forcing. Insert gently, move back and forth three to four times, and replace the brush weekly or when bristles bend.
Implant-specific floss features a stiff threading end and a soft cleaning section. Thread it under the bridge or around the crown using a gentle sawing motion. Never snap it into place, as that can damage the seal between the implant and gum tissue.
The Four-Step Daily Cleaning Sequence
Use this sequence every time for maximum effectiveness:
- Water flosser to loosen debris and disrupt biofilm
- Interdental brushes to remove stubborn plaque from curved surfaces
- Implant-specific floss for detailed cleaning in hard-to-reach areas
- Soft-bristled toothbrush at a 45-degree angle to the gum line to clear remaining particles
The full routine takes around 8-10 minutes. Skipping any step leaves bacteria that can cause inflammation and, over time, bone loss.
Professional Cleanings and Monitoring Protocols
Home care handles daily biofilm, but it cannot measure bone levels or detect changes in pocket depth. Professional visits every six months provide the monitoring layer that keeps problems from going undetected.
What Every Professional Visit Should Cover
Standard metal scalers scratch implant surfaces and create rough spots where bacteria attach more easily. Your care team uses implant-safe instruments specifically designed to clean without damaging the titanium.
Each professional visit should include:
- Peri-implant probing to measure pocket depth and check for bleeding
- Digital X-rays to track bone levels around the titanium post
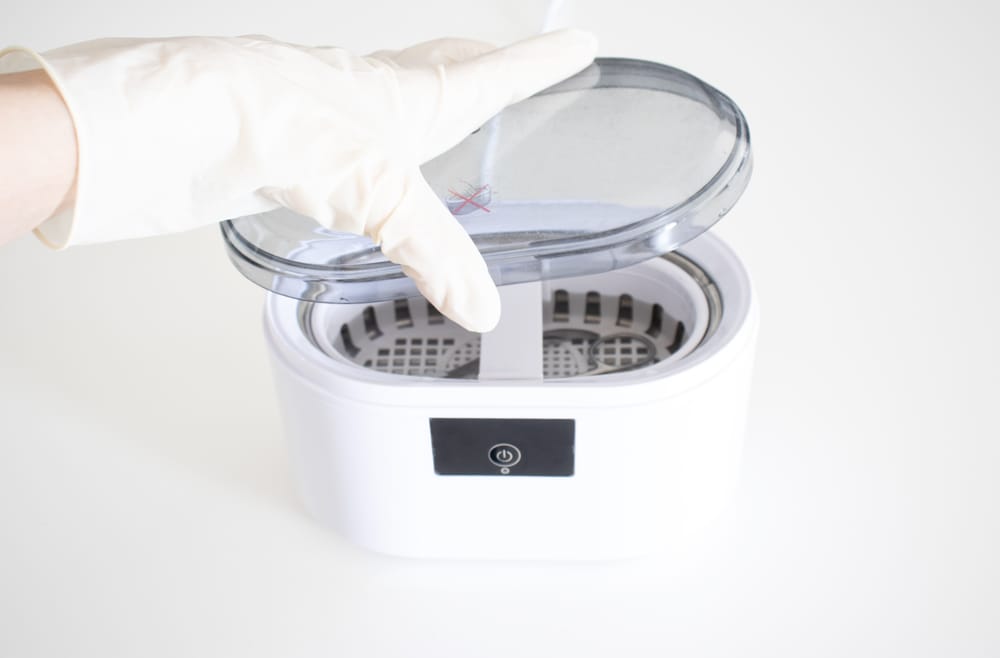
- Ultrasonic tools with polymer tips to remove biofilm without scratching the surface
- Assessment of all crowns, bridges, and prosthetic components for loosening
- Bite evaluation to catch any biomechanical pressure on supporting bone
- Night guard check for patients with bruxism
Your care team records pocket depth measurements at every visit. Tracking changes over time catches problems before they become irreversible, since early-stage peri-implant mucositis is treatable while advanced bone loss is not.
How Digital Imaging Tracks Bone Health Over Time
Digital imaging plays a separate but equally important role. Subtle changes in bone height or density are not visible during a clinical exam. Regular X-rays create a baseline and reveal shifts between visits. Your care team gets the information needed to act before structural damage occurs.
Patients with risk factors such as diabetes or a smoking history may need more frequent imaging or shorter recall intervals. Your care team adjusts the schedule based on your individual health profile and implant stability.
Protecting Your Investment Through Systematic Care
Preventive maintenance costs a fraction of what implant failure does. A single failed implant can require bone grafting, surgical removal, and replacement. That process often costs three to four times more than years of routine visits.
The Real Cost of Skipping Maintenance
Your implant-supported dentures and bridges need cleaning protocols that differ from natural teeth. Food particles can collect under prosthetic attachments, so daily removal and thorough cleaning of removable components prevents bacterial buildup.
Many practices offer payment plans that spread maintenance costs over several months, and dental insurance typically covers a portion of professional visits. Protecting your implants is the most cost-effective strategy available.
Daily Habits That Protect or Threaten Your Implants
Patient habits matter beyond oral hygiene. Chewing ice, biting pen caps, and using teeth as tools create forces that threaten implant stability. Protecting your investment means protecting it in every daily habit, not just at the sink.
The healing process around implants continues for months after initial placement. During that period, more frequent visits help monitor tissue adaptation and catch prosthetic adjustments needed early. Once healing is complete, a standard six-month interval works for most patients.
Dental Implant Maintenance: The Difference Between 10 Years and a Lifetime
Dental implant maintenance works when both layers are in place: a daily home routine with specialized tools and professional monitoring every six months. That combination prevents bacterial infections from reaching bone and catches early warning signs before they become costly problems.
The research clearly shows that patients who maintain structured care protocols achieve superior long-term outcomes and protect their oral health investment. Your implants can provide decades of reliable function. Connect with us, and we can build a maintenance plan that fits your health history and lifestyle!
FAQs
How do you take care of dental implants?
Taking care of implants means brushing twice daily with a soft-bristled toothbrush, using a water flosser to clear bacteria from below the gum line, and cleaning between teeth with interdental brushes. Professional checkups every six months keep bone levels stable and catch early signs of inflammation before they cause damage.
How do you clean dental implants?
Clean implants with a water flosser, interdental brushes, and implant-specific floss daily. Use a soft-bristled or electric toothbrush at a 45-degree angle to the gum line. Avoid abrasive toothpastes that can scratch implant crowns. At professional visits, your care team uses polymer-tipped ultrasonic instruments to remove hardened buildup safely.
Can you chew gum with dental implants?
Sugar-free gum is generally fine with dental implants. Avoid very sticky or hard gums that create excessive pulling force on the crown or surrounding gum tissue. During the healing period after placement, skip gum entirely until your dentist confirms full osseointegration. When in doubt, ask your care team first.
Do you have to brush dental implants?
Yes. Implants do not decay like natural teeth, but the gum tissue and bone around them can still develop bacterial infections. Brushing twice daily removes the biofilm that triggers peri-implantitis, the leading cause of implant failure. Skipping brushing allows plaque to build up and quietly damage the supporting bone structure.
What should I do if I notice bleeding around my implant?
Continue gentle daily cleaning with your specialized tools. Bleeding often reflects inflammation that improves with consistent biofilm removal. If it persists beyond two weeks or worsens, contact your dental team promptly. Early action prevents inflammation from progressing to bone loss.
Citations/Sources:
- “plaque, smoking, history of periodontitis…risk indicators of peri-implant diseases” — European Journal of Dentistry
- “individualized, evidence-based home care protocols” — PubMed Central
- https://onlinelibrary.wiley.com/doi/10.1111/cid.12944
- https://www.frontiersin.org/journals/cellular-and-infection-microbiology/articles/10.3389/fcimb.2024.1445751/full